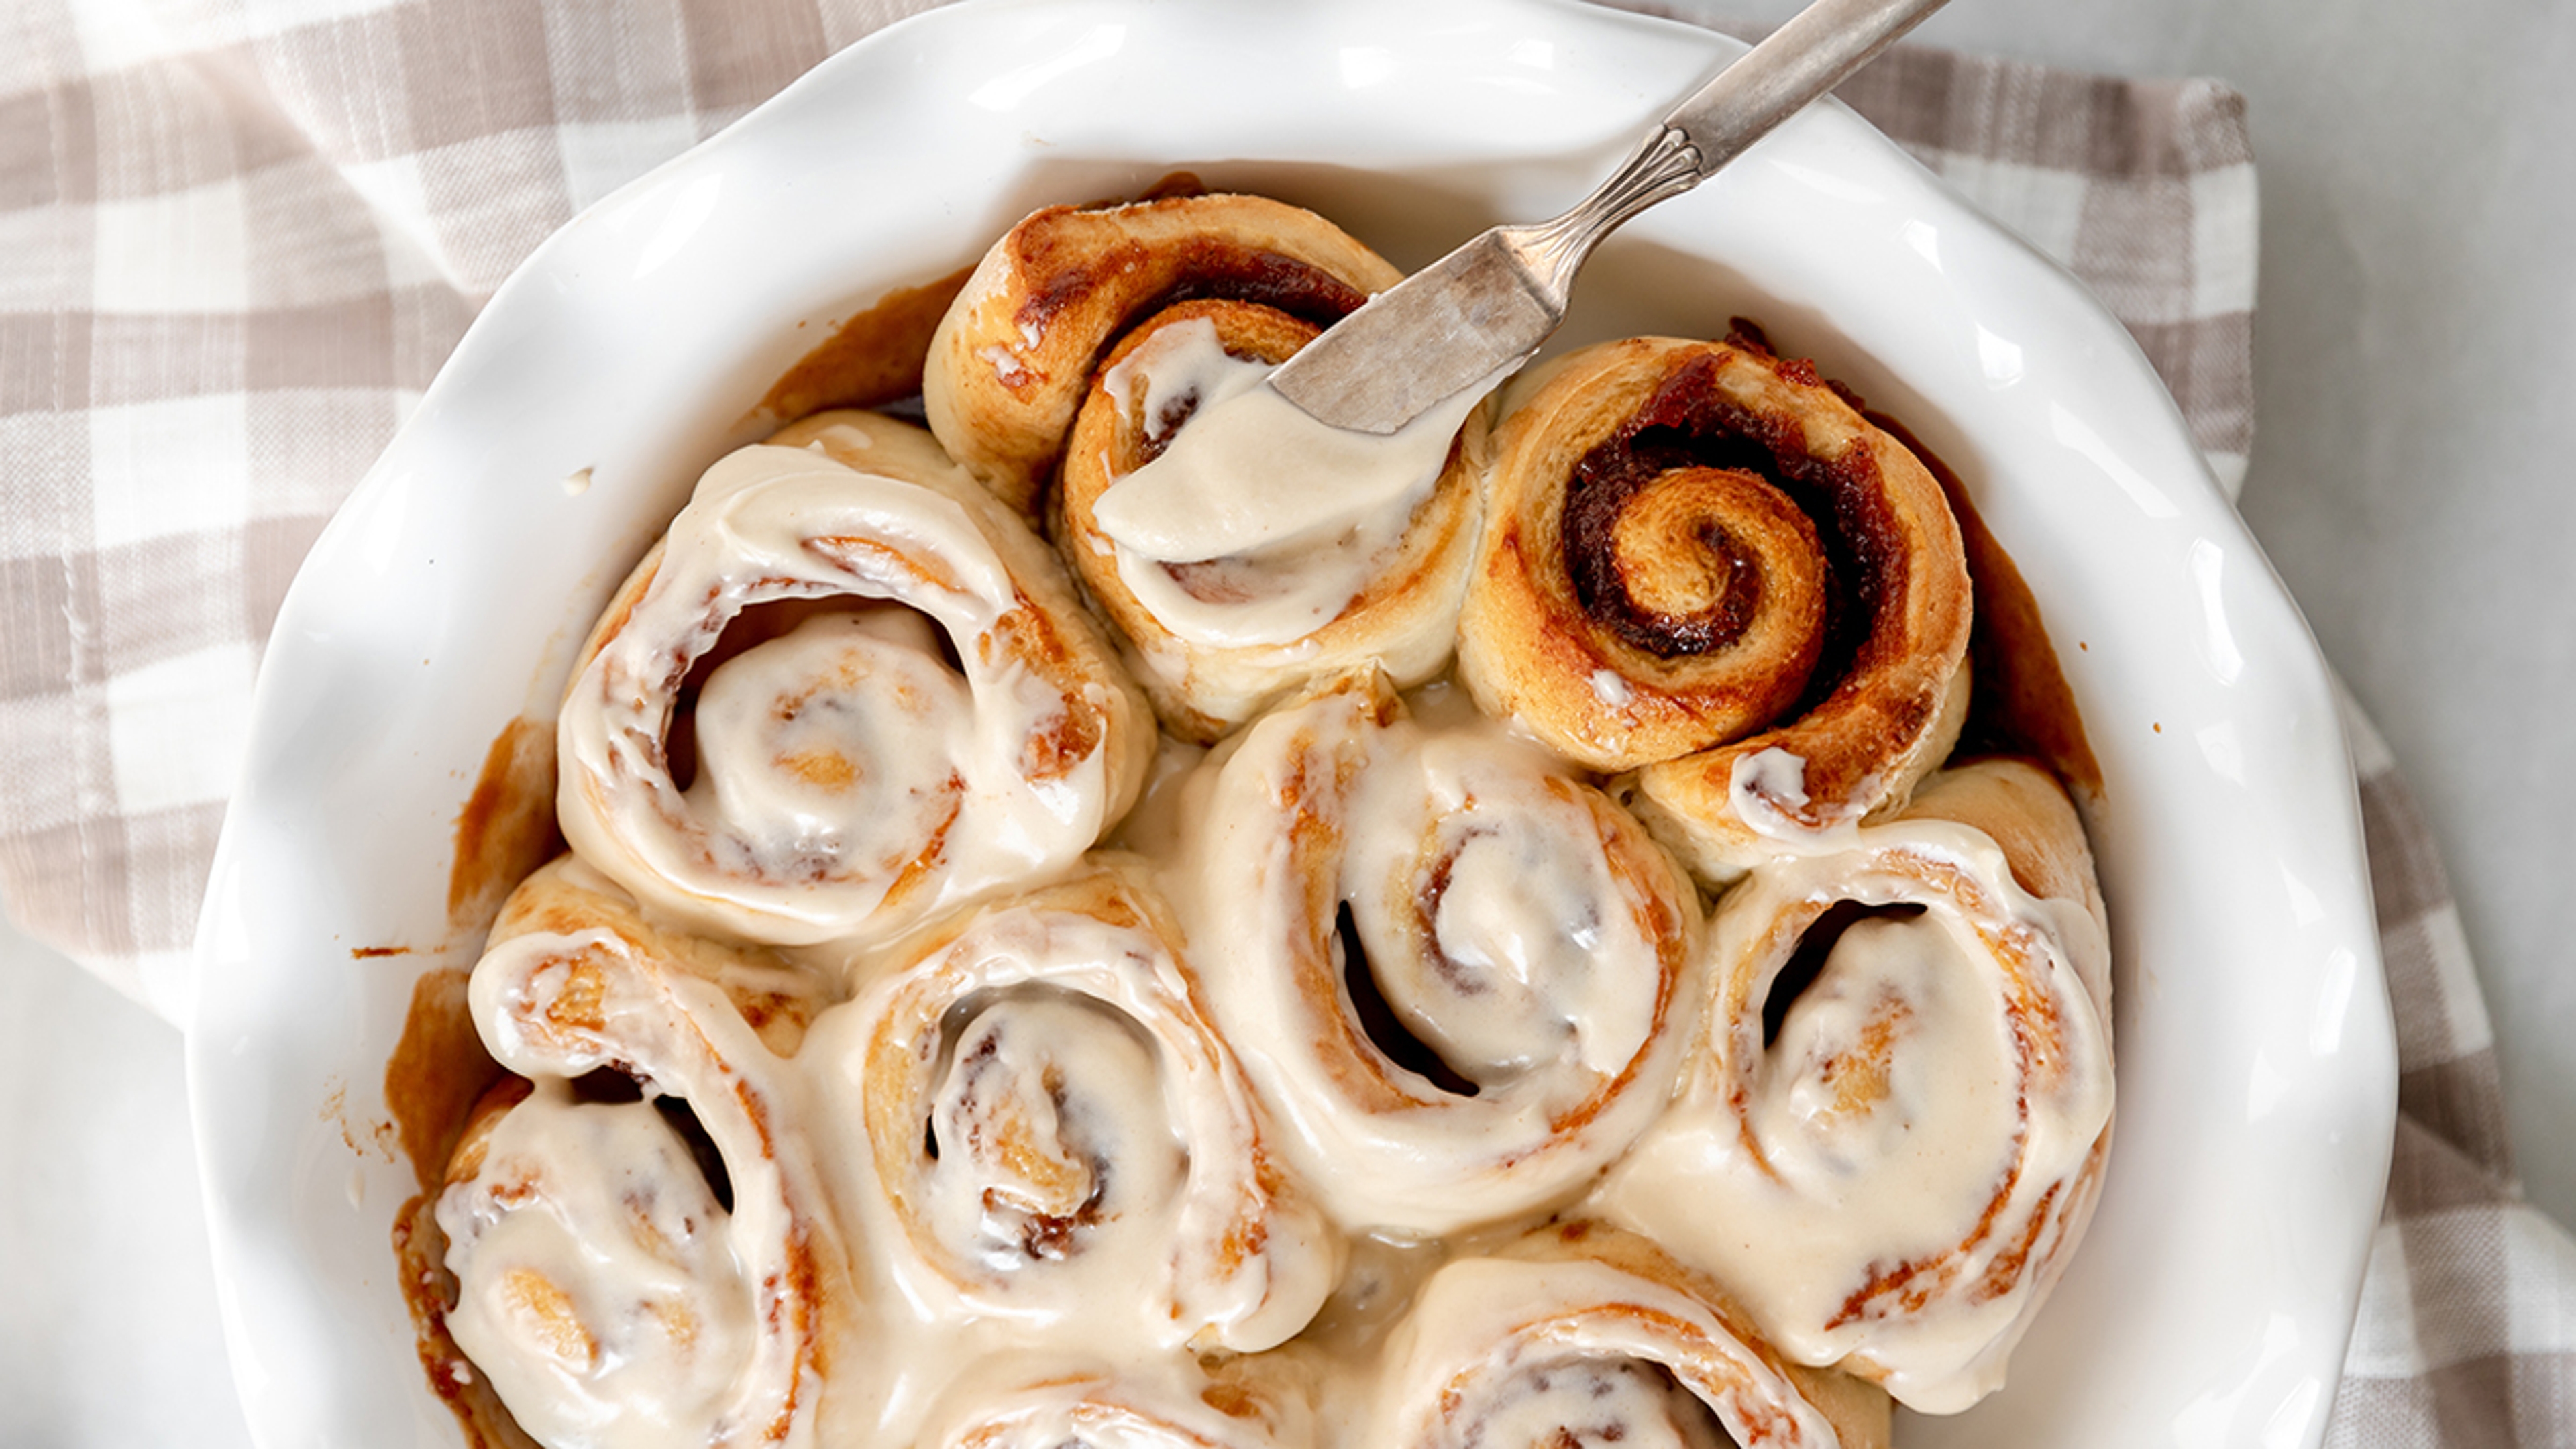
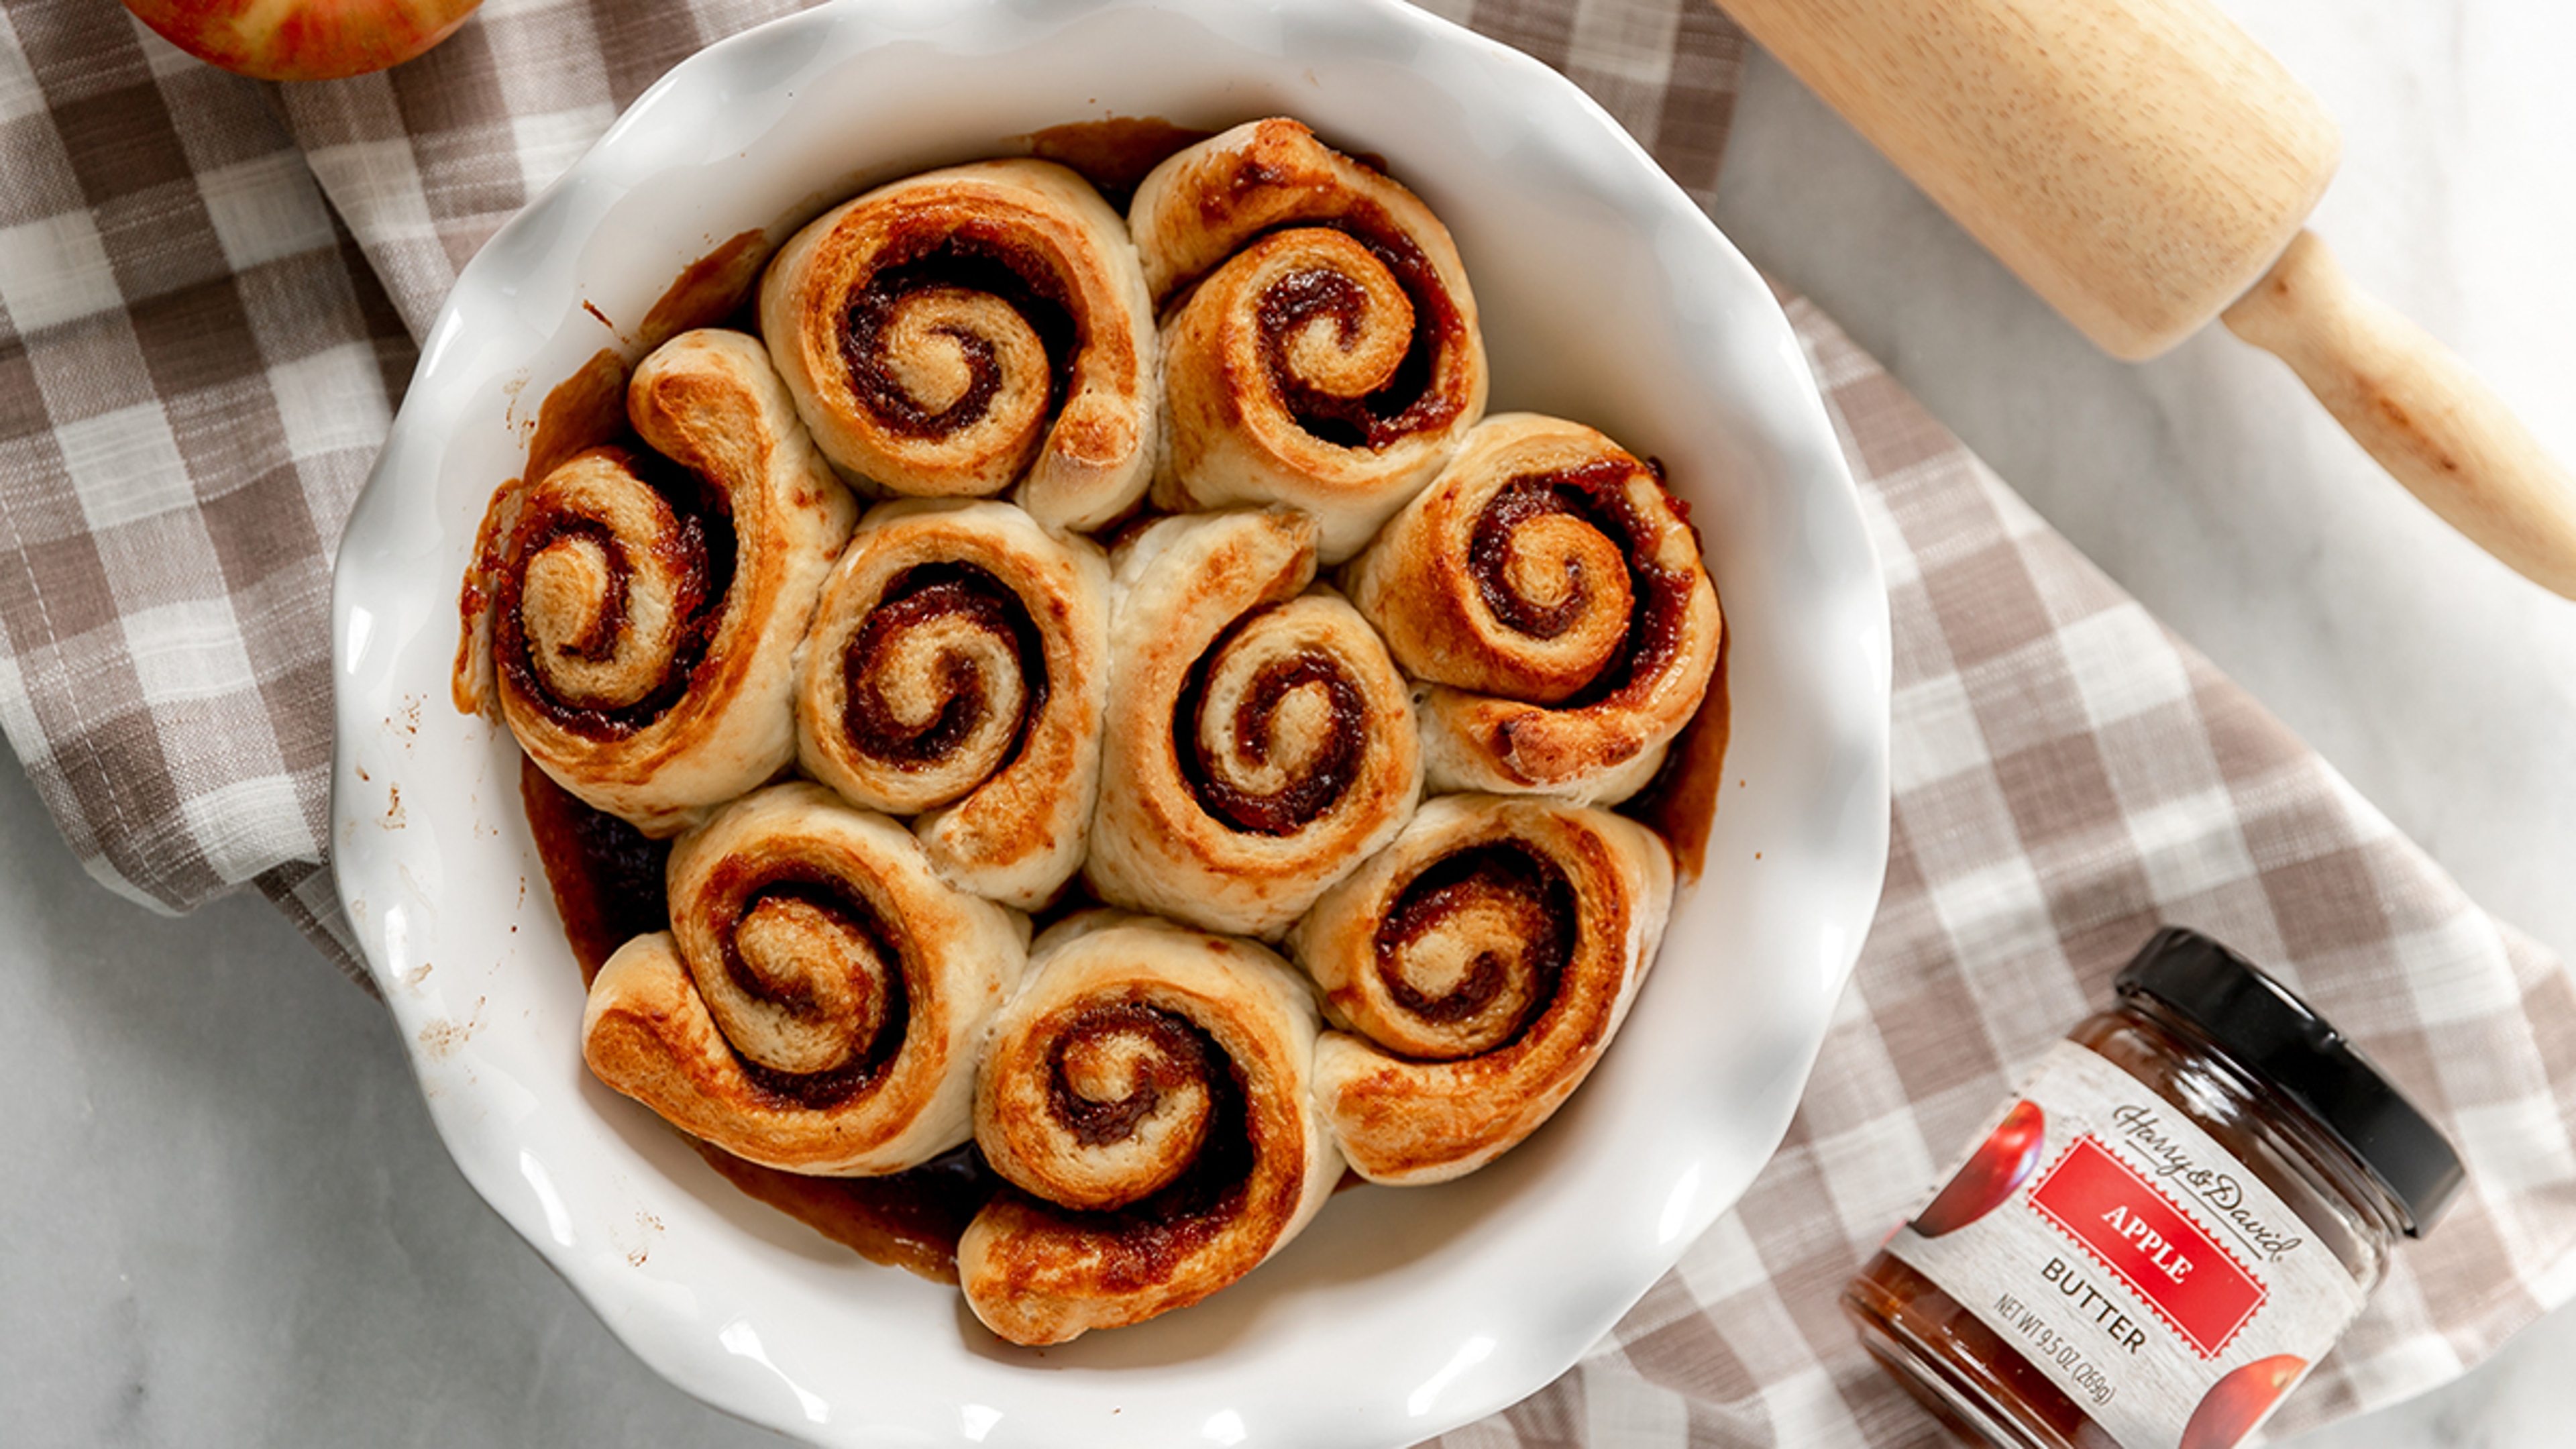
Apple Butter Cinnamon Rolls
Could cinnamon rolls be more delicious? Yes. Yes they can.
Sep 23, 2025
Fall just got a little sweeter thanks to a big ol’ jar of apple butter! This orchard classic is made with the sweetest of apples, the brownest of sugars, and the hintiest (we just coined that word) of fall spices.
While you could just eat the apple butter straight from the jar, I recommend using it to elevate your fall baking in this decadent cinnamon roll recipe. Since you will need to use nearly an entire jar to make these cinnamon rolls, you may want to grab a few extra jars, to, you know… I mean, you’ll need something to do while you’re waiting for the rolls to come out of the oven. Right?

- 1 pie pan
- 1 electric mixer
- 1 loaf frozen bread dough, thawed according to package directions
- 23 cup Harry & David Apple Butter
- 13 cup brown sugar
- 12 tablespoon cinnamon
- 2 tablespoons cream cheese
- 2 tablespoons softened butter
- 1 cup powdered sugar
- 1 tablespoon Harry & David Apple Butter
- 14 teaspoon vanilla extract
- 1-2 tablespoons whole milk

- Preheat the oven to 350°F and lightly grease a pie pan.
- Roll the thawed dough out onto a lightly floured surface until the dimensions are about 10 x 14 inches.
- Spread the apple butter evenly on the dough making sure to spread it all the way to the edges.
- In a small bowl, combine the brown sugar and cinnamon, then sprinkle the mixture over the apple butter.
- Roll the dough into a log, then use a very sharp knife to slice the log into 8 or 9 even sections. Place the rolls into the prepared pan and bake for 25-27 minutes.
- Use an electric mixer to cream the cream cheese and butter until smooth. Slowly add the powdered sugar, apple butter, and vanilla extract and mix until combined. Continue to mix while adding the milk one tablespoon at a time until you’ve reached the desired thickness.
- Spread the icing over the warm cinnamon rolls and enjoy!
Recipe and photography by Danielle Rodgers
.svg?q=70&width=384&auto=webp)


